This is a tutorial to explain how to create a static website with all free tools and hosting. It will use: [GitHub Pages](GitHub Pages) project site for free hosting Obsidian to create the structure we want using simple markdown Webpage Html Export plugin for Obsidian to export our notes as a website to be published
This is a really easy way to create and a website. It may not have all the bells and whistles of an eCommerce site but for something like a personal blog it is more than enough.The publishing part may seem hard at first but once you get the hang of it it works well. There are many providers out there that let you host Static Websites for free. Since GitHub pages and obsidian are also free you only need to pay if you want additional features like your own domain name.
Since this is a new vault I work work from scratch but I will later add links to my other pages when I move it to another vault
Setting up Github Pages
- Download Obsidian if needed
- Create a new vault I called mine WPHE the name of the plugin we will be using
- Added a page called "index". it is required.

- Deleted the welcome page
- Added this page.
- follow the instructions at GitHub Pages which requires me to go to my Github Account
- It asks me to create a new GitHub repository. I can either create a "user" or a "project" page. Organization doesn't really apply to me. The main difference is that I get just 1 user page and can have multiple project pages. So if I have multiple sites I probably want a project page. The url for a user page appears to look like https://username.github.io. and the url for the project page appears to look like http://username.github.io/repository So they tack the repository name on the end. Ill set up a project page for another website.
- In another browser tab I log into my Github Account and click new repo. I type in a new name of "wphe" (wphe stands for webpage html export).
- Created with the following settings:
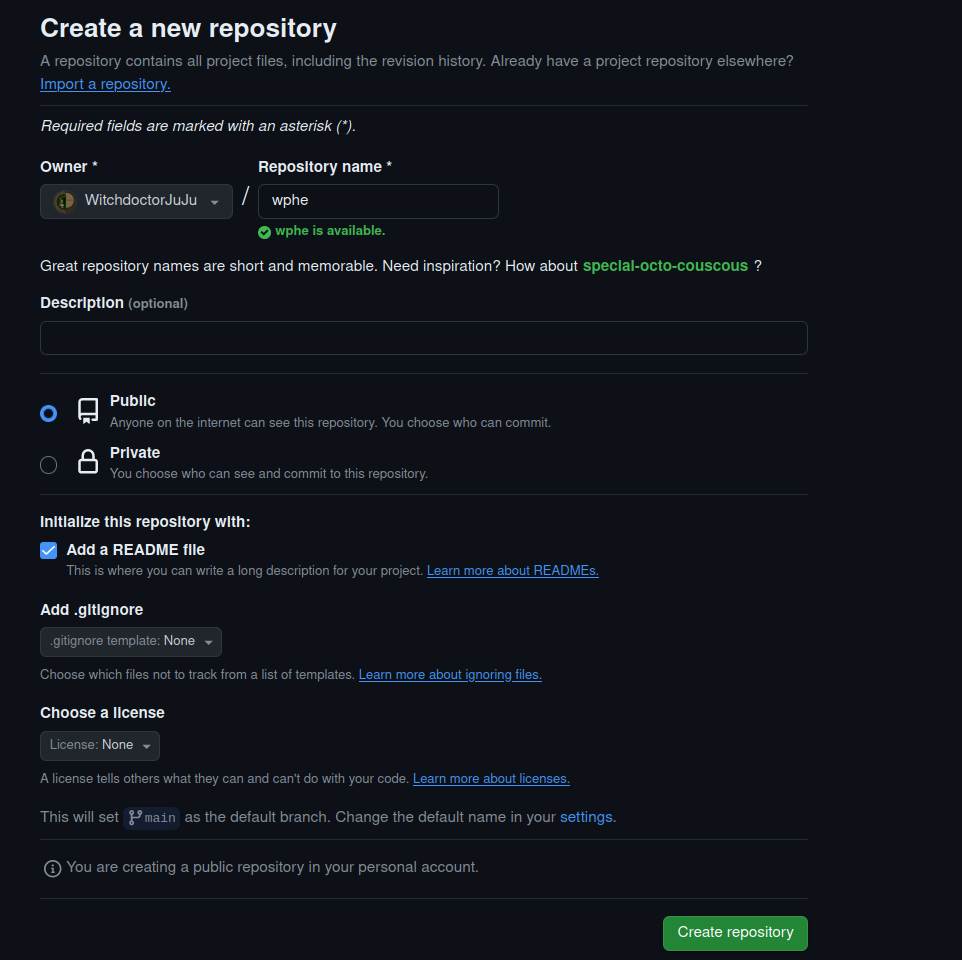 We don't need a readme but by clicking it, it inits the repo for us.
 - Back to the steps for a project site in the other browser tab...
- Theme or No Theme? Since I am going to use WebPage Html Export I wont choose a theme as I am not going to build this. I will start from scratch. So I can skip this step.
- Index page. I will create one just to see the page live for now. I followed steps 2 & 3 of the documentation to create this. But it took me a while to figure out how to add a file.
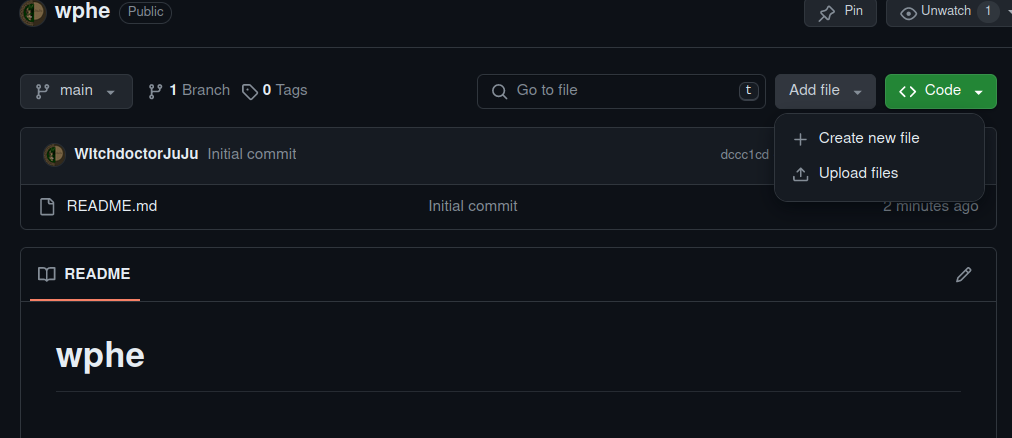 See the big green code button and next to it is "add a file"
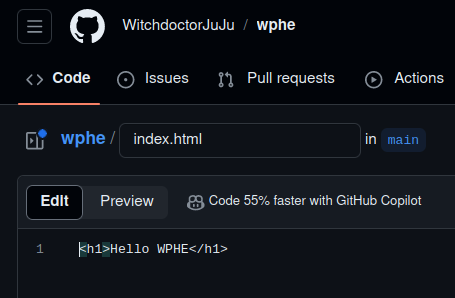 I give it a file name "index.html" and the contents shown in line 1 and click the big green button at the upper right titled "Commit changes...".
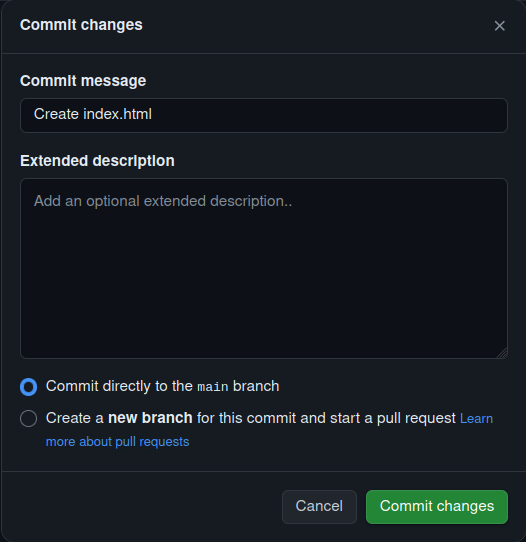 I get this popup and I accept the defaults in the popup and just click Commit Changes.
 - Setting the repository to use pages. Following step 4 of the guide I clicked on the settings icon in the repo then scrolled down to "pages" and changed the "branch" to "main" and set the folder to / (root) and click Save
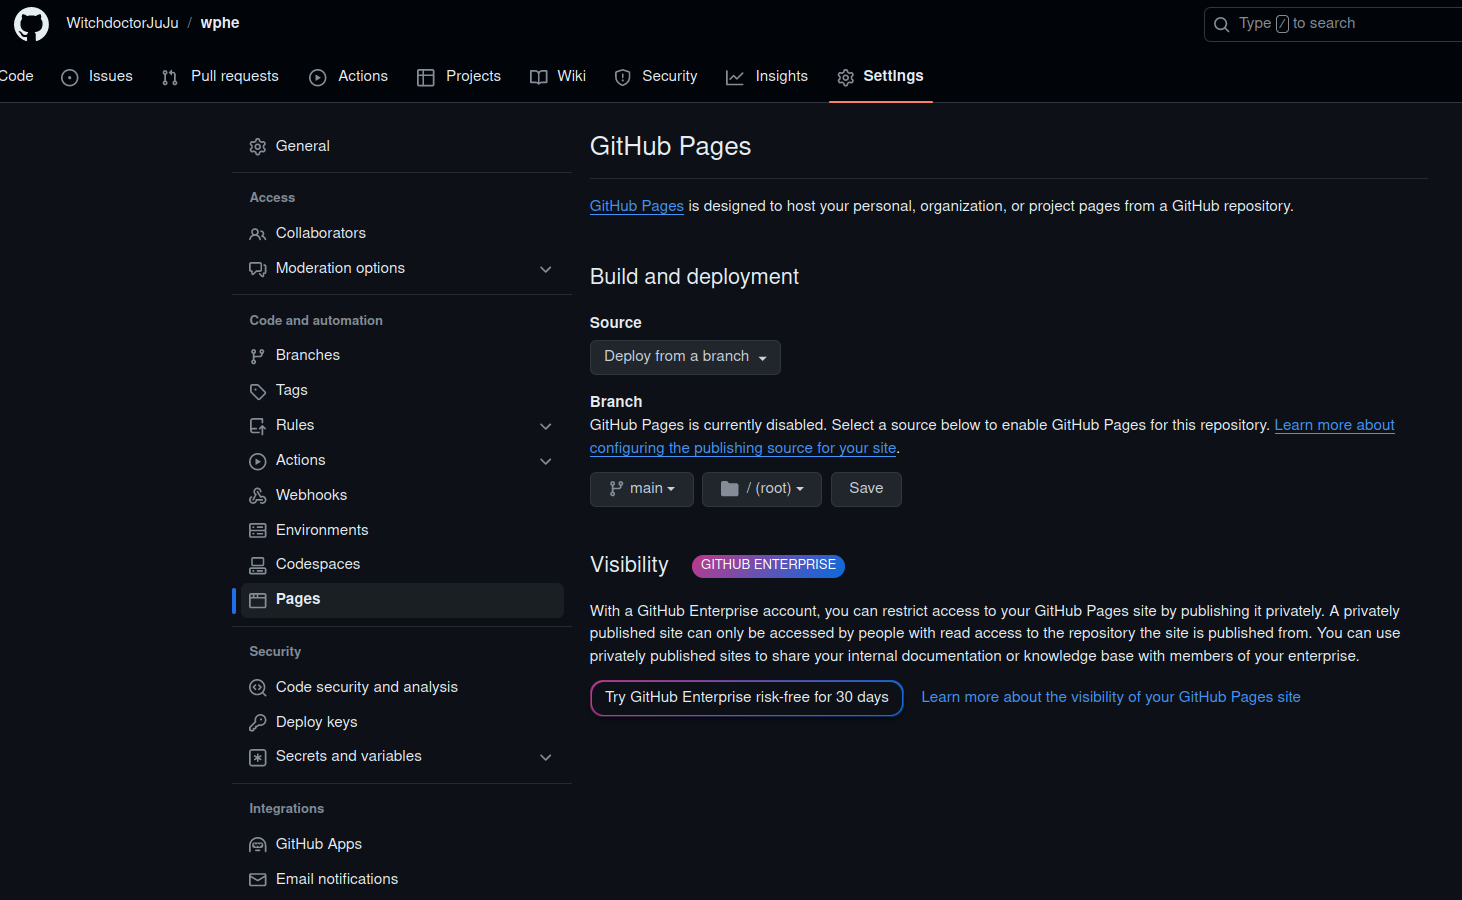 as shown. NOTE: If the files for the website lived inside a folder like say public as may static site generators do, you might want to set this to public instead if you are copying the folders into git. but in our case I will just put them at the root (top level) of the repository.
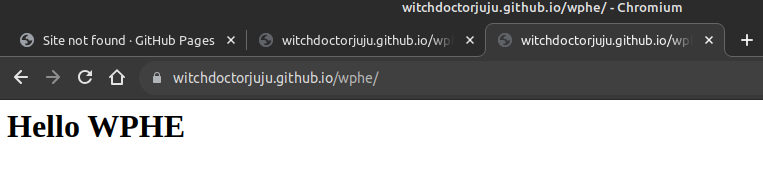
 - I really wish they would give me a link to the page. They claim "Fire up a browser and go to http://username.github.io/repository." http://witchdoctorjuju.github.io/wphe and we can see it worked
 So we know github pages and my repo is setup and working.
Now we can move onto WebPage HTML Export
So we know github pages and my repo is setup and working.
Now we can move onto WebPage HTML Export
Cloning the Repository
So we need to get this down to our desktop so we can later push our files back up. The easiest way to do this is to do what is called cloning the repository. You will need to download and install git software for this. In my case I am on a Debian based Linux distribution I already have it installed. Once you have git installed you can open a terminal or command prompt. On Linux terminal is in the menu.
We also need to create and setup and ssh key see these Connecting to github with SSH
- generate an SSH key
- add it to your account
- ssh add - since I did not use the default names I have to manually load the desired private key into memory. I do this with
ssh-add /home/username/.ssh/my-keynote I did not use the .pub version - Test your connection
ssh -T git@github.com
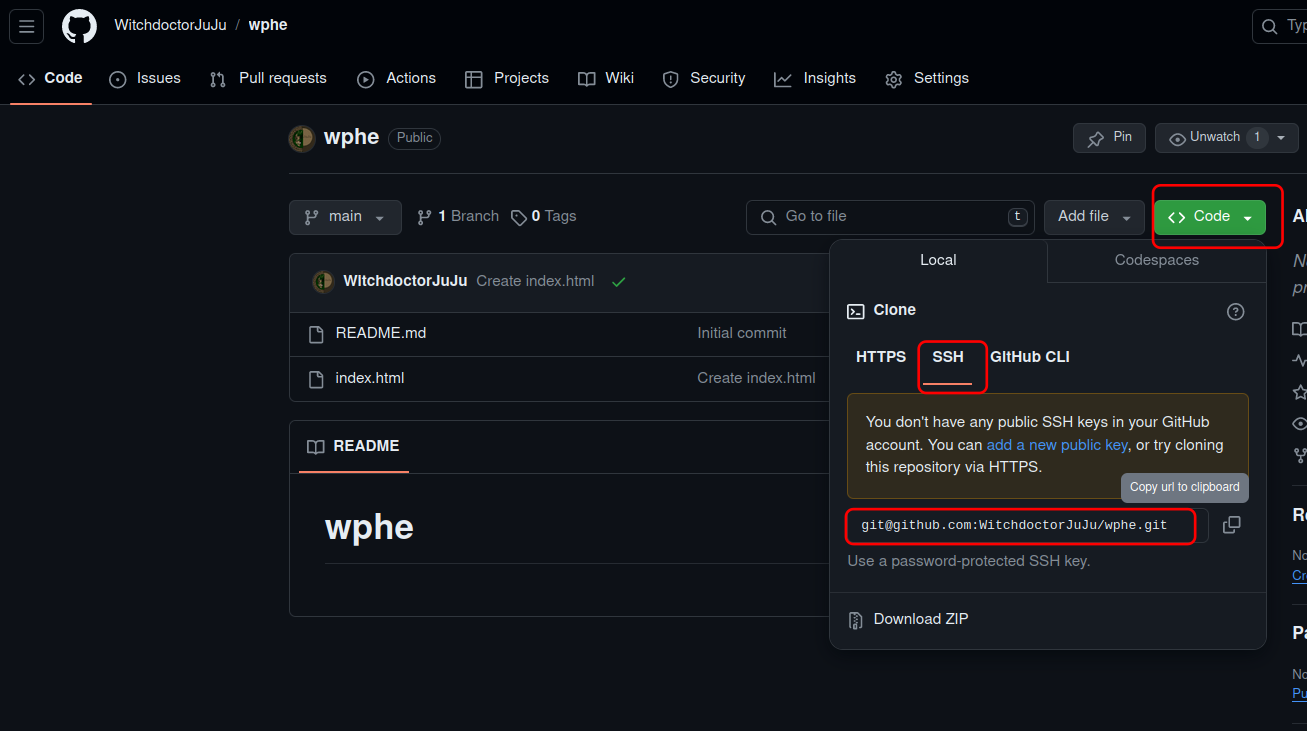
I can get the repository URL to clone by going to my repo and clicking Code> SSH > and copy the URL:
cd $HOME
# git clone URL
git clone https://github.com/WitchdoctorJuJu/wphe.git
cd wphe
git remote -v
This created a directory called wphe and it contains a hidden folder .git to keep track of your code changes. So don't delete that folder. We will use this folder going forward.
Push some changes
We can test our ability to push changes
In the new wphe directory open the index.html
<h1>Hello WPHE for Obsidian</h1>
I added for Obsidian to the header and saved the file.
git status
git add -u
git status
git commit -m "change index header"
git status
git push -u origin main

### my output
$ git push -u origin main
Enumerating objects: 5, done.
Counting objects: 100% (5/5), done.
Delta compression using up to 20 threads
Compressing objects: 100% (2/2), done.
Writing objects: 100% (3/3), 306 bytes | 306.00 KiB/s, done.
Total 3 (delta 0), reused 0 (delta 0), pack-reused 0
To github.com:WitchdoctorJuJu/wphe.git
   781778b..adc8498  main -> main
Branch 'main' set up to track remote branch 'main' from 'origin'.
I do recommend you take a course on using git. I check the url of my site again: https://witchdoctorjuju.github.io/wphe/
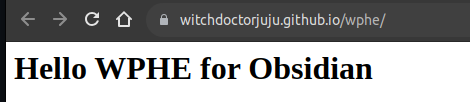 And we see the changes. So we can successfully make changes on our laptop/desktop and push those changes up to GitHub. Note that you may have to do the SSH add step each time you boot your computer if you need that step.
Setting up The Plugin
We are talking about the plugin WebPage Html Export" in the Obsidian plugins. I should note that before you proceed you may want to consider Obsidian Plugins Security Considerations.
Allow Community Pluging
First we need to first allow plugins to be used in Obsidian Settings (Cog) > Community Plugins > Turn On Community Plugins (Button) . Notice the link on Plugin Security as well.
Install The Plugin.
Once plugins are allowed we must go back into **Settings (Cog) > Community Plugins > Browse > Search: Webpage Html Export > click to select, then click install.
Enable The Plugin
Now that the plugin is installed, we have to enable it.
**Settings (Cog) > Community Plugins ** on the bottom of the page is a now shown the plugin, toggle the circle to enable the plugin. This screenshot shows the plugin enabled.

Make Your First Web Page
- Create a new note: My New Website
- Add some text by following the Basic Formatting Syntax
- Add some headings
- Add an image. Perhaps screenshot of something not copyrighted. Perhaps drag an image from your pictures folder you want to share.
- Toggle between reading mode and edit mode (tip:
Ctrl-E)
Exporting the Website
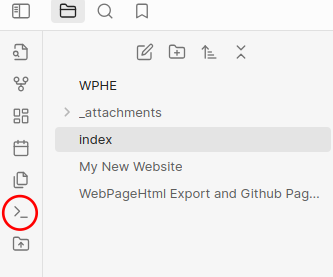
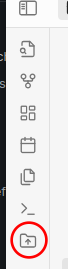 The export can be found on the left hand window. At least this is how it looks on Linux desktop. The icon is probably similar on other versions.
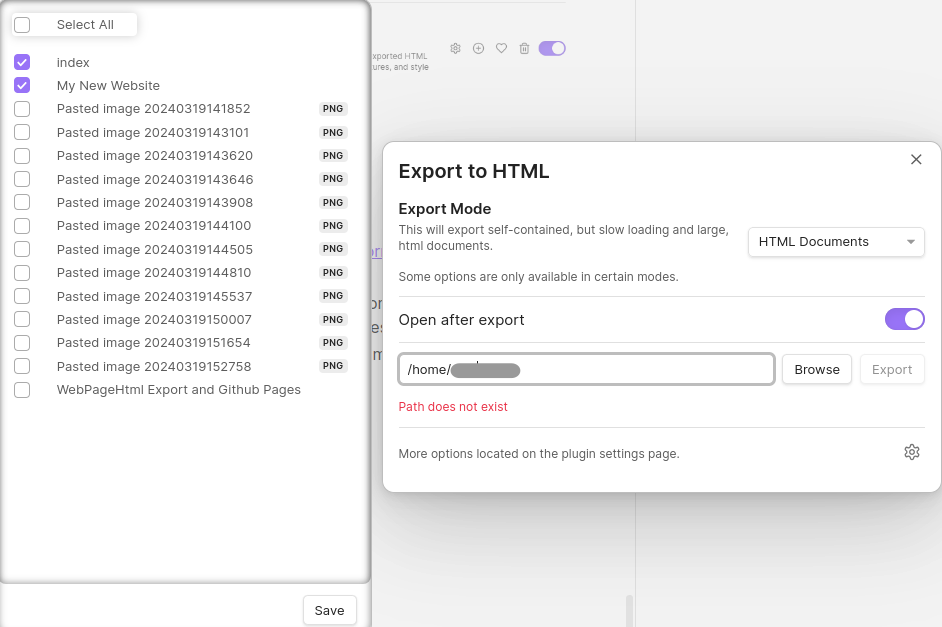
Be sure to first create a folder for the export. I used /home/user/wphe_dev. I gave it a different name because I do not want to mix the development with the production website. Then I clicked export and used the settings above. Note that I have not had to check the images for it to work. Click "save" after you select the pages you want and it will remember it for next time. Export Mode "HTML Documents" works best for viewing the files locally on your computer. This is a great development mode without a webserver. When the file manager opens right0-click on the index file and open in a browser i.e. Firefox, Chrome, Edge, Safari, .... Click around and see how it works.
 See how easy that was.
Making changes
So I realize some things are not as I want them
- WPHE above the menu doesnt look good and it is the name of the vault. We will change this to say "Site Contents" instead.
- index is a bad name
- the attachments in the way in our vault
 ****
****
Lets try to change these things
Common Settings
First, I recommend setting the following in Settings:
- Editor > Spellcheck
- Files and Links > auto update internal links
That second one will automatically fix links if you move pages around inside your vault.Very helpfil.
Moving Attachments
Settings > Files and Links >

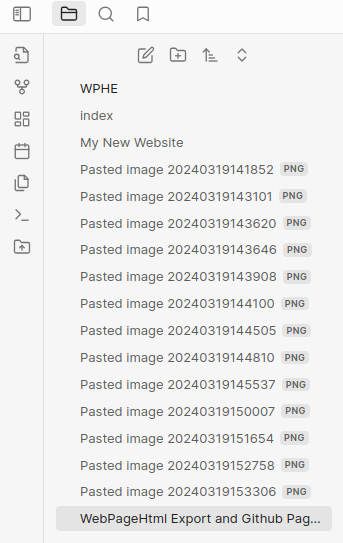
if you do this, all attachments get put in a folder called _attachments at the top of your vault. Check the drop down for more options. You may need to paste a new image into a note and it will create the folder. Once it exists I can simply drag all of those "Pasted image..." PNG into the _attachments folder. That's better...
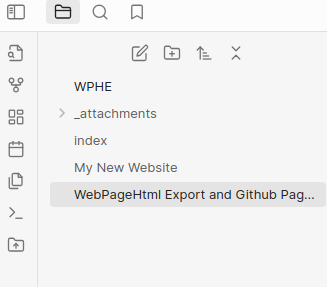
Now all future attachments should go into that same folder.
Fixing Index by Giving it a Title
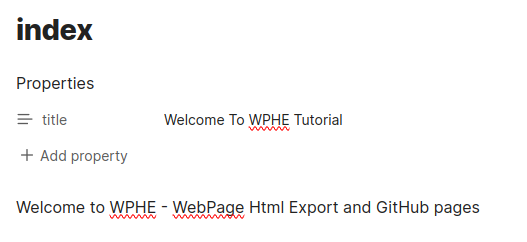
We use Properties to add the title. First we select the page with the name index in our left hand notes pane and select the page on the right as if we were going to type in more info. I tried it once without selecting the page and the steps below failed.
Then select the command pallet as shown below
 In the popup, Search for "Add file property" and select it.
Add a property called "title" and give it a display name. You should end up with something like this.
In the popup, Search for "Add file property" and select it.
Add a property called "title" and give it a display name. You should end up with something like this.
Changing to Say Site Content above the menu
At this point lets do another export as this setting is in the export.
In the export settings, this time select the settings cog  below the export button. Under MetaData >
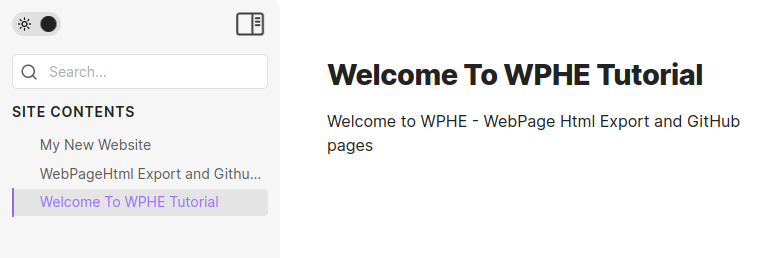
 I changed it from WPHE to Site Contents.
Click export again and view in a browser.
 Nice our site name is fixed.
Publishing to the internet.
Ok so lets change the settings and export our production site this time.
Change these
- Export Directory: /home/user/whpe # use the REPO dir w/o dev
- Export Mode: Oneline Web Server
- Public Site URL: set to the github pages url
 Now back in your command prompt running git
git status
git add --all
git status
git commit -m "first prod website"
git status
git push -u origin main
Check the URL again https://witchdoctorjuju.github.io/wphe/
If your old page is still showing, refresh the page in your browser
 We now have our website published to the internet.
Making Updates
From here it is mostly a matter of adding content.
- Add folders to separate major topics. Perhaps you have a folders for Recipes, Making Soap, and another for Famous Quotes. Folders do not need an index for this plugin.
- For testing your site just remember to switch settings:
- Use DEV folder e.g. whpe_dev folder for testing
- Export Mode: HTML Documents
- I did not have to remove the site URL for it to work
- When done testing
- Use PROD folder e.g. whpe (or better whpe_prod)
- Export Mode: Online Web Site
- Run git commands to push changes
git add --all # add changes
git commit -m "meaningful message"
git push -u origin main
Adding a domain name
If you are interesting in adding your own custom domain name
You will need to find a domain registrar and find a domain name that is not taken.
You might want to check out the Top Level Domains list and see if something appropriate relates to your site. Maybe .ninja or .music have special interest. Though you may have to find the registrar that can offer those domains.
Once you have a domain registrar you will want to look at Configuring a Custom Domain for Github Pages You have to go through a process of setting up DNS entries at your registrar to validate you own the domain. So picking a registrar that lets you easily update the DNS settings yourself can be helpful. Hopefully they all allow this in this day and age.